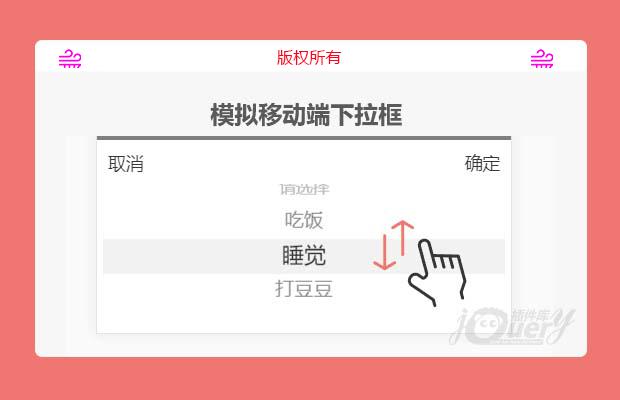
插件描述:需要jquery,基于swiper框架二次开发的移动端下拉选择框。
使用方法
1.引入对应css,js文件
1 2 3 4 5 | <link rel="stylesheet" href="css/public.css"><link rel="stylesheet" href="swiper/css/swiper.min.css"><script src="swiper/js/swiper.min.js"></script><script src="js/dySelect.js"></script> |
2.在html中创建块级标签,类名为:select_box,如:
1 | <div ></div> |
3.在html中创建激活下拉框元素,如:
1 | <button >打开下拉1</button> |
4.实例化对象
1 2 3 4 5 6 7 8 9 10 11 12 13 14 15 16 17 18 19 20 21 22 23 24 25 | var hgS1 = new selectSwiper({ el:'.select_box1', // mustSelect:true, // 是否必选,默认false // activeIndex: 0,//默认激活项下标,默认值:-1 data: ['吃饭', '睡觉', '打豆豆'],//选项数据 init:function(index){//插件加载完成执行 if(index !== -1){ $('.btn1').html(this.data[index]); } }, okFunUndefind: function () {//选择空执行 alert('必须选择一项'); return false; }, okFun: function (index) {//确认按钮执行 console.log(index); $('.btn1').html(this.data[index]); }, closeFun: function () {//取消按钮执行 console.log('取消'); },});$('.btn1').on('click', function () {//对激活选择框绑定事件 hgS1.openSelectSwiper(); // 打开选择框}); |
特别申明:
本站所有资源都是由网友投稿发布,或转载各大下载站,请自行检测软件的完整性!
本站所有资源仅供学习与参考,请勿用于商业用途,否则产生的一切后果将由您自己承担!
如有侵权请联系我们删除下架,联系方式:lei1294551502@163.com
- 上一个特效: jQuery弹窗插件
- 下一个特效: threejs音速小子vr小游戏