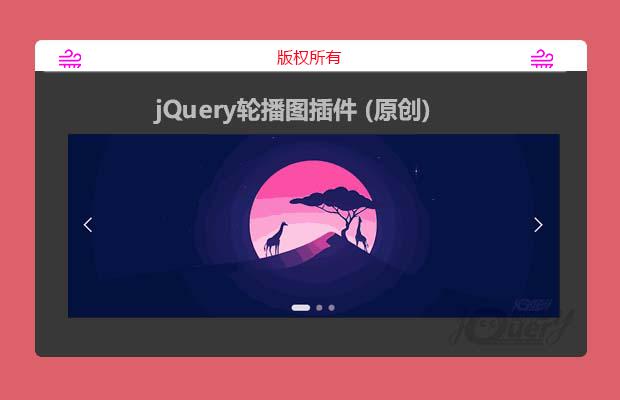
插件描述:1: 最简易的轮播图! 2: 用户可自定义其他功能和样式! 3: 可轮播自定义页面,并非仅轮播图片。
更新时间:2020-06-27 19:21:50
更新说明:在原有轮播的基础上,轮播效果改为无缝连接的交互体验。
更新时间:2020-06-16 09:40:53
使用方法
1: 引入核心 css 和核心 Js
1 2 3 | <link rel="stylesheet" href="./css/swiper.min.css"><script src="./js/swiper.min.js"></script> |
注意:此插件依赖jquery,请引入最小的jquery.js
【开发环境的版本】
1 2 | <link rel="stylesheet" href="./css/swiper.css"> 2.13k<script src="./js/swiper.js"></script> 6.42k |
【生产环境的版本】
1 2 | <link rel="stylesheet" href="./css/swiper.min.css"> 1.54k<script src="./js/swiper.min.js"></script> 2.53k |
2: 创建一个容器来存放轮播
1 2 3 4 5 6 7 8 9 10 | <!-- 轮播容器 --><div class="swiper-container"> <!-- 轮播子项容器 --> <div class="swiper-wrapper"> <!-- swiper-item容器中可以写入任何想要轮播的东西,例如:图片,文字,其他代码等等,把最大的操作空间留给开发者 --> <div class="swiper-item"><img src="./images/1.png" alt="banner"/></div> <div class="swiper-item"><img src="./images/2.png" alt="banner"/></div> <div class="swiper-item"><img src="./images/3.png" alt="banner"/></div> </div></div> |
建议:swiper-item中的自定义代码样式可以新建一个样式文件存放,避免直接修改swiper核心样式文件而导致后期不好维护。
3. 初始化配置
1 2 3 4 5 6 7 | var swiperConfig = { width: 800, // 容器宽度(最小300, 默认800) height: 300, // 容器高度(最小120, 默认300) speed: 3000, // 切换速度 needPrevAndNextBtnGroup: true, // 是否需要前进后退按钮组 needPagination: true // 是否需要分页器 } |
4. 大功告成,开始愉快的玩耍吧。
特别申明:
本站所有资源都是由网友投稿发布,或转载各大下载站,请自行检测软件的完整性!
本站所有资源仅供学习与参考,请勿用于商业用途,否则产生的一切后果将由您自己承担!
如有侵权请联系我们删除下架,联系方式:lei1294551502@163.com
- 上一个特效: vue分类筛选
- 下一个特效: 移动端H5键盘(原创)